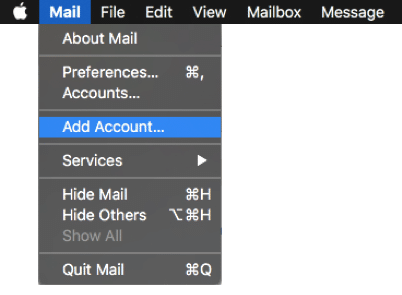
Step 1, Open Mail, click Mail menu → Add Account
Open Mail from Applications (or Spotlight). With Mail focused, click Mail in the top menu bar, then Add Account…
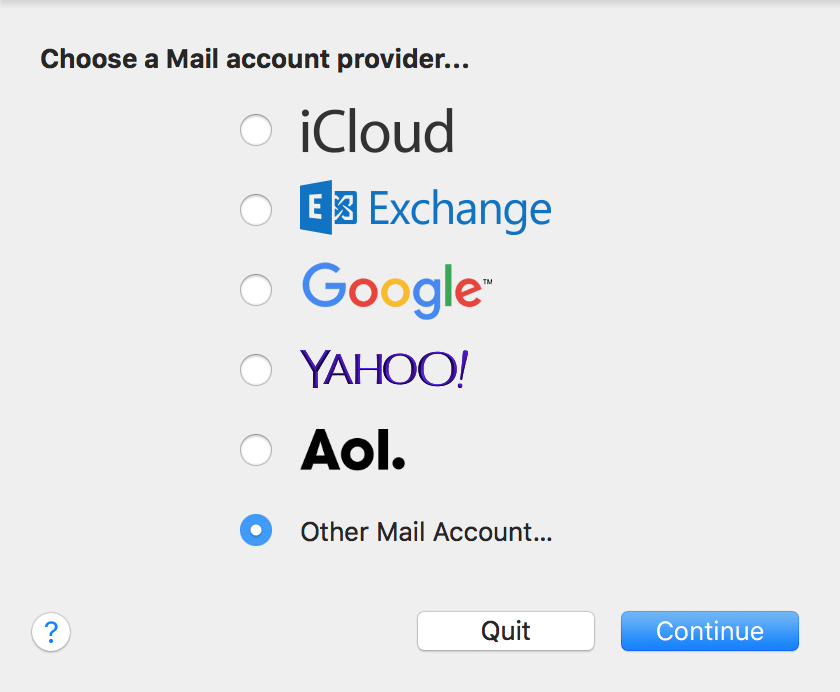
Step 2, Choose “Other Mail Account”
macOS shows a list of email providers. Your Jezweb email isn't iCloud, Google, Yahoo or AOL, pick the bottom option: Other Mail Account… then click Continue.
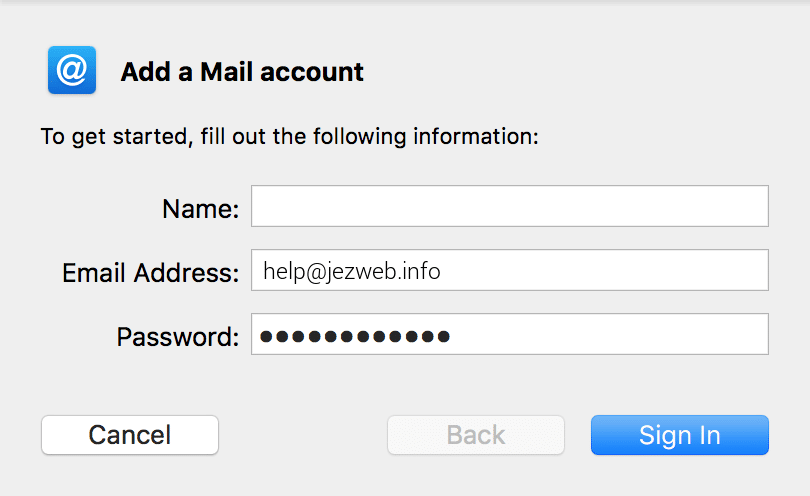
Step 3, Enter your name, email and password
Fill in the three fields. The Email Address is your full address (e.g. jane@yourbusiness.com.au). The Password is your mailbox password we provided.
Step 4, Server settings: ax.email for both incoming and outgoing
Click Sign In. macOS will say “Unable to verify account name or password”, that's normal because we need to tell it which server to use. The form will expand to show server fields. Fill them in:
- User Name: your full email address (it copies from the Email Address)
- Account Type: IMAP
- Incoming Mail Server:
ax.email - Outgoing Mail Server:
ax.email

Click Sign In again.
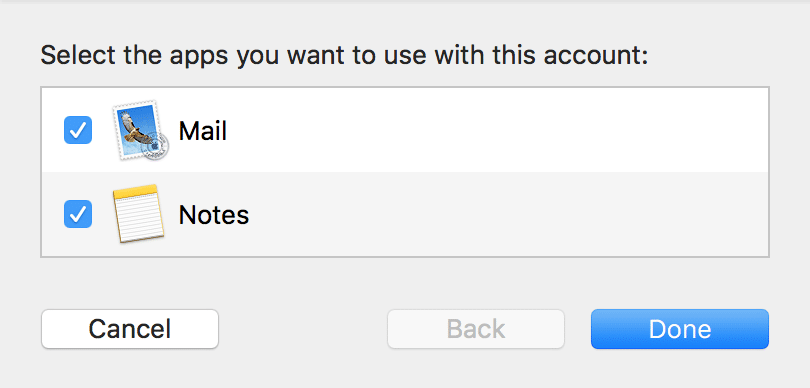
Step 5, Choose which apps use this account
Tick Mail (required). Tick Notes only if you want notes synced via your email account too, most people don't. Click Done.
Your inbox appears in Mail. Initial sync can take a few minutes if your mailbox has lots of email.
If Sign In keeps failing: double-check your password by signing into webmail at ax.email. If webmail works but Mail doesn't, the issue is the server settings, make sure both are ax.email exactly (no imap. or mail. prefix). If webmail also fails, contact us for a password reset.
Adding the signature you use on Mail
Once your mailbox is connected, set up a signature: Mail → Settings → Signatures. Drag your mailbox into the left column, type or paste your signature in the right pane. Tick Always match my default message font for clean formatting.